
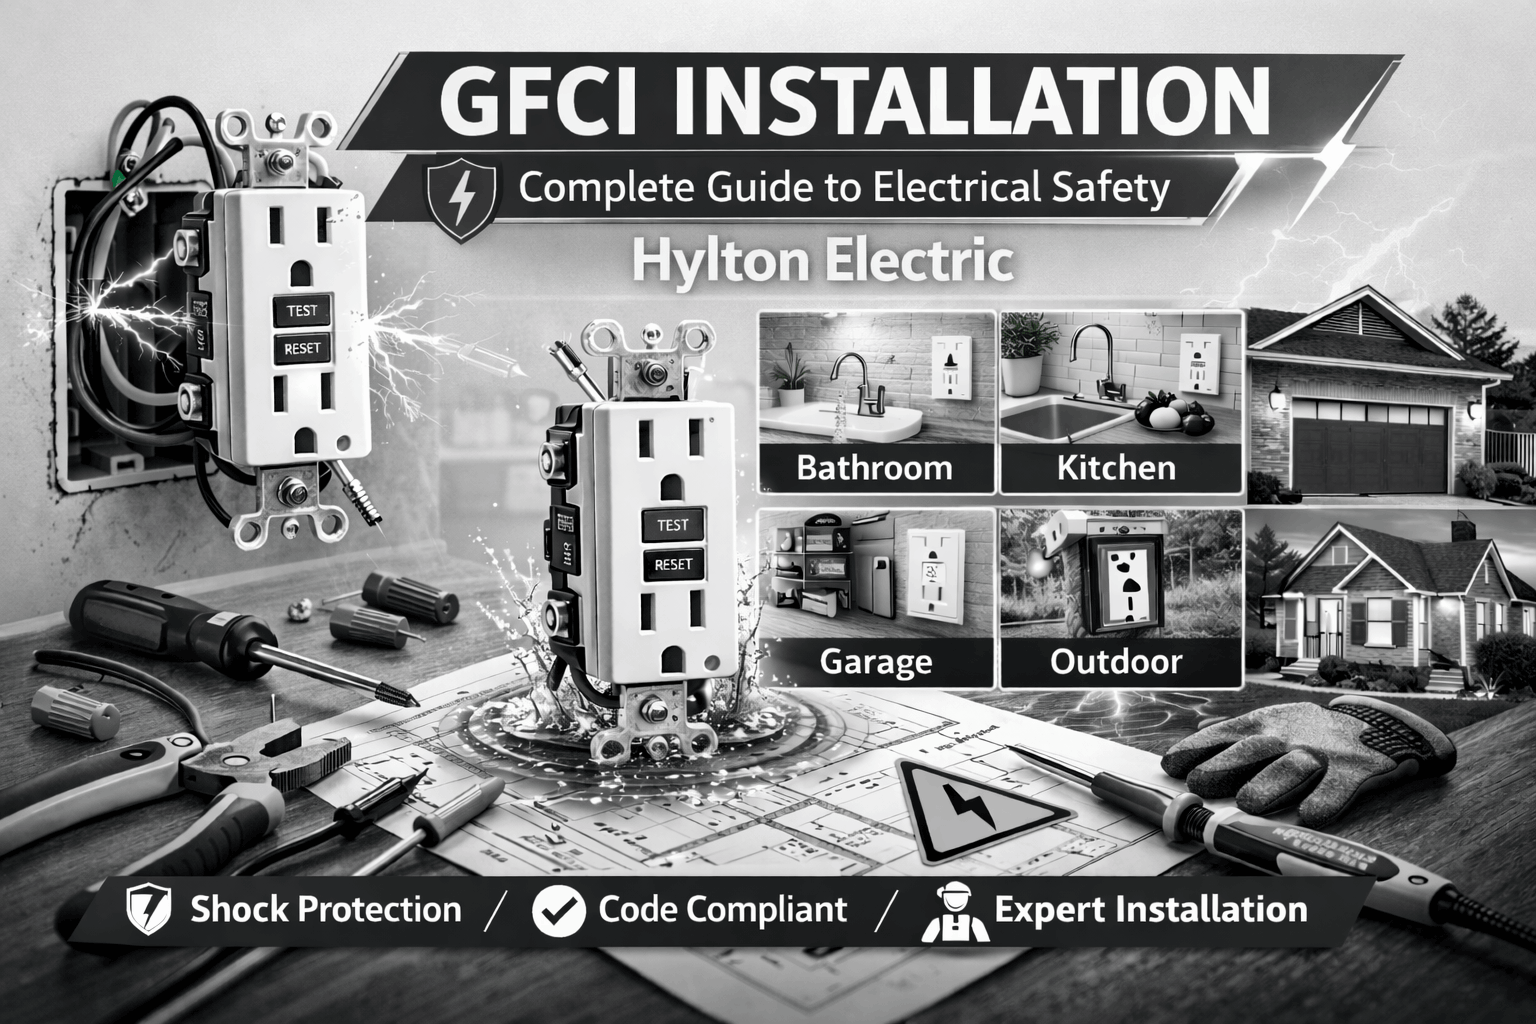
GFCI Outlet Installation Guide for Electrical Safety
Installing a GFCI outlet is a smart move for home safety. It protects against electrical shocks by cutting power during faults. This GFCI Outlet Installation Guide for Electrical Safety | Hylton Electric outlines the essentials so you can go ahead with confidence.
This guide will walk you through the installation process. You’ll learn how to wire GFCI outlet connections safely and effectively.
Understanding where GFCI outlets are needed is crucial. They are essential in areas with moisture, like kitchens and bathrooms. Use this guide to find a GFCI outlet where needed and meet local electrical codes.
Before starting, gather the necessary tools and materials. A screwdriver, voltage tester, and wire stripper are must-haves. Always check local electrical codes and permit requirements before beginning any work.
Safety is paramount, so ensure the power is off before beginning. Follow our step-by-step instructions for a successful installation. If you’re installing a GFCI outlet for the first time, take your time and read each step carefully.
Finally, you’ll enhance your home’s electrical safety with confidence.
Understanding GFCI Outlets and Electrical Safety
GFCI stands for Ground Fault Circuit Interrupter. These outlets provide essential protection against electrical shocks. By detecting current imbalances, they cut off electricity rapidly to prevent harm.
These outlets are vital in keeping electrical safety at home. Their quick response helps protect both people and property from shock dangers. They can also prevent potential electrical fires by acting swiftly.
Here are some key features of GFCI outlets:
- Detect electrical faults quickly
- Interrupt power flow immediately
- Protect against electrical shock and fires
A GFCI outlet resembles standard outlets but includes “Test” and “Reset” buttons. Testing regularly ensures they function correctly. Inspecting and maintaining these outlets is crucial for ongoing safety.
Where GFCI Outlets Are Needed in Your Home

GFCI outlets are particularly important in areas with moisture. They are commonly required by electrical codes in these zones to ensure safety.
Installing GFCI outlets in the right locations improves home safety. Use this checklist to identify common areas where GFCI protection is needed or required by code:
- Bathrooms
- Kitchens
- Outdoor spaces
- Basements
- Garages
- Laundry rooms
Installing GFCI outlets in these places can prevent electrical hazards. For temporary needs, a GFCI outlet plug can provide portable protection, especially outdoors or on job sites. Their role in protecting against electrical shock is indispensable, making them a vital element of any home’s safety plan.
Tools and Materials Required for Installing a GFCI Outlet
Before beginning the GFCI outlet installation, gather the necessary tools. Having everything ready will make the process smoother and more efficient.
A few essential tools and materials you will need include:
- Screwdriver
- Voltage tester
- Wire stripper
- Pliers
- New GFCI outlet
- Wire nuts
Make sure these tools are in good condition. Preparing these items in advance helps to avoid interruptions during the installation process, ensuring a quicker and safer job.
Safety Precautions Before Installation
Safety is paramount when working with electricity. Before starting, be sure to take necessary precautions to avoid any mishaps.
First, ensure the power is off at the circuit breaker. This is critical to prevent electrical shocks while working on the outlet.
Using a voltage tester, verify that the circuit is completely de-energized. This double-check ensures your safety throughout the process.
Remember to wear rubber-soled shoes and avoid working in wet conditions. These simple steps can significantly reduce the risk of electrical accidents.

Step-by-Step Guide to Installing a GFCI Outlet
This section guides you through installing a GFCI outlet. It’s important for safety and functionality. Each step is crucial. Follow along for a successful installation.
Step 1: Turn Off Power at the Circuit Breaker
First, locate the appropriate circuit breaker in your electrical panel. Turn it off to cut power to the outlet you will work on. This ensures there is no risk of electric shock as you proceed with the GFCI outlet installation.
Step 2: Remove the Existing Outlet
Carefully unscrew and remove the existing outlet from the electrical box.
- Check with your voltage tester again to confirm the outlet is not live.
- Gently pull out the outlet to expose the connected wires.
Ensure you have a clear view of how the wires are attached to avoid confusion later.
Step 3: Identify Line and Load Wires
Identifying the line and load wires is essential. Use a voltage tester to determine which wire brings in power.

by Valentin Zickner (https://unsplash.com/@vzickner)
- The line wire connects to the power source.
- The load wire protects additional outlets downstream.
Carefully label these wires to maintain clarity during installation.
Step 4: Wire the GFCI Outlet (with Diagram)
Refer to a wiring GFCI outlet diagram for precise guidance. Connect wires as follows:
- Attach the black (hot) line wire to the brass terminal.
- Connect the white (neutral) wire to the silver terminal.
- Attach the ground wire to the green terminal on the outlet.
For a quick visual, see a GFCI outlet diagram that labels line, load, neutral, and ground. Following these steps will ensure a proper and safe connection.

by Clint Patterson (https://unsplash.com/@cbpsc1)
Step 5: Secure the Outlet and Attach the Cover Plate
Once wired, gently push the GFCI outlet back into the box. Fasten it securely with screws. This prevents movement that could loosen connections. Next, attach the cover plate to keep everything tidy and protected from dust.
Step 6: Restore Power and Test the GFCI Outlet
Head back to the circuit breaker and turn the power back on. Testing the outlet is crucial to ensure safety.
- Press the “Test” button; the “Reset” button should pop out.
- This action cuts power to the outlet, confirming proper function.
To complete the installation, press the “Reset” button again to restore power.
Troubleshooting Common GFCI Outlet Installation Issues
Encountering problems after installing a GFCI outlet can be frustrating. However, most issues have simple solutions. Begin by double-checking your wiring connections.
If the outlet fails to reset, examine the line and load wires. A common mistake is reversing these connections. Correcting this often resolves the problem.
Review your wiring with the following checklist:
- Ensure wires are securely connected to their correct terminals.
- Confirm that the ground wire is attached to the green terminal.
- Verify the circuit breaker is supplying power.
Addressing these factors typically rectify installation issues.
Maintenance and Testing of GFCI Outlets
Regular maintenance of GFCI outlets ensures they function correctly and remain safe. Testing these outlets monthly is crucial for optimal performance.
To test a GFCI outlet, follow this simple checklist:
- Press the “Test” button; the “Reset” button should pop out.
- Confirm the outlet loses power, indicating it’s working.
- Press “Reset” to restore power.
Regular checks prevent surprises and enhance safety. Always address any failure immediately to maintain a safe home environment.
When to Call a Professional Electrician
If the GFCI outlet installation seems complex, it is best to contact a professional electrician. Handling electrical wiring can be dangerous if you’re unsure. A Professional GFCI outlet installation ensures that your electrical system meets modern safety standards and local building codes.
At Hylton Electric, we help homeowners make safe and reliable electrical improvements every day. Whether you need a single outlet replaced or full circuit protection, our licensed electricians are here to help.Call +1 863-624-7000 or email ray@hylton-electric.com to schedule your service with Hylton Electric today.
Hiring a licensed electrician ensures proper grounding and safe installation.
Safety guidelines: https://www.cpsc.gov
References
- National Electrical Code (NEC) 2023 Guidelines
- Electrical Safety Foundation International (ESFI)
- U.S. Consumer Product Safety Commission (CPSC)
- Occupational Safety and Health Administration (OSHA)
Frequently Asked Questions About GFCI Outlets
What is a GFCI outlet?
A GFCI outlet, or Ground Fault Circuit Interrupter, protects against electrical shocks by cutting power when it detects a fault. This protection is crucial in wet areas.
Why does my GFCI outlet trip often?
Frequent tripping can be due to moisture, faulty appliances, or improper wiring. Testing the outlet may identify the cause.
Where should GFCI outlets be installed?
Install them in areas prone to moisture, such as bathrooms, kitchens, and garages.
Can I replace a regular outlet with a GFCI outlet?
Yes, GFCI outlets can replace standard outlets without significant modifications. Follow safety guidelines during installation.
How often should GFCI outlets be tested?
Test monthly to ensure they function properly. Press the “Test” button; the “Reset” button should pop out.
What happens if the GFCI outlet fails to reset?
This could indicate a fault within the outlet or circuit. It may need replacing or professional inspection.
Conclusion: Enhancing Home Safety with GFCI Outlets
Installing GFCI outlets is a simple but effective measure to enhance home safety. They safeguard against electrical shocks, particularly in moisture-prone areas like bathrooms and kitchens.
Regular testing and maintenance are essential to ensure these outlets function correctly. By following this guide, you can help keep your home safer for everyone.
Q&A
What’s the difference between LINE and LOAD wires, and why does it matter?
Short answer: LINE brings power in; LOAD extends GFCI protection to additional outlets downstream. Mixing them up often prevents the GFCI from resetting.
LINE is the feed from the breaker to the outlet, while LOAD continues to protect other outlets on the same run. The guide recommends using a voltage tester to identify the power source and labeling the conductors before wiring. Connecting LOAD correctly allows the GFCI to protect additional outlets; reversing LINE and LOAD is a common mistake that can keep the device from resetting. If that happens, recheck and correct those connections.
Where in my home do I need GFCI outlets, and can I use a portable GFCI instead?
Short answer: Install GFCIs in moisture-prone and code-required areas like bathrooms, kitchens, outdoors, basements, garages, and laundry rooms; a portable GFCI outlet plug is useful for temporary or outdoor tasks.
The guide highlights locations where GFCIs are commonly required to reduce shock risk, especially where water is present. For temporary protection—such as on job sites or when using outdoor tools—a GFCI outlet plug offers portable safety. Use installed GFCIs to meet code in permanent locations and portable units for short-term needs.
What tools and safety steps are essential before I start installation?
Short answer: Have a screwdriver, voltage tester, wire stripper, pliers, a new GFCI outlet, and wire nuts; shut off the breaker, verify with a tester, wear rubber-soled shoes, and avoid wet conditions.
Preparing your tools in advance streamlines the job. The guide stresses turning off the correct circuit breaker first and confirming the outlet is de-energized with a voltage tester. Basic personal safety—dry workspace and proper footwear—further reduces risk.
How do I connect the wires to the GFCI correctly and confirm it works?
Short answer: Hot (black) to brass, neutral (white) to silver, ground to green; then test using the Test and Reset buttons.
Follow the wiring diagram guidance in the guide: attach black (hot) LINE to the brass terminal, white (neutral) to silver, and ground to the green screw. Secure the outlet in the box, attach the cover plate, restore power at the breaker, press Test (Reset should pop out and power should cut), then press Reset to restore power.
What should I check if the GFCI won’t reset after installation?
Short answer: Verify LINE/LOAD aren’t reversed, confirm tight terminal connections, ensure the ground is on the green screw, and make sure the breaker is supplying power; call a pro if issues persist.
The troubleshooting steps in the guide point to wiring mistakes—especially swapped LINE/LOAD—as the most common culprit. Recheck each terminal, confirm the ground connection, and verify the circuit is energized at the panel. If the outlet still fails testing or won’t reset, contact a qualified electrician (the guide suggests Hylton Electric) to ensure safe resolution.
What makes a GFCI different from a standard outlet?
Short answer: A GFCI (Ground Fault Circuit Interrupter) detects current imbalances and quickly cuts power to prevent shock and potential fires; it looks like a regular outlet but includes Test and Reset buttons for safety checks.
How do I know where I need GFCIs in my home?
Short answer: Install GFCIs in moisture-prone and code-required areas—bathrooms, kitchens, outdoor spaces, basements, garages, and laundry rooms—and use a portable GFCI plug for temporary or outdoor tasks.
What tools and safety checks should I have before starting?
Short answer: Gather a screwdriver, voltage tester, wire stripper, pliers, a new GFCI outlet, and wire nuts; turn off the correct breaker, verify the circuit is de-energized with a tester, work in dry conditions with rubber-soled shoes, and confirm local codes and permit requirements.
How do I wire and test a new GFCI correctly?
Short answer: Identify LINE (power in) and LOAD (downstream protection) with a tester and label them; connect black (hot) to brass, white (neutral) to silver, and ground to green, secure the outlet and cover, restore power, press Test to trip (Reset should pop and power should cut), then press Reset to restore power.
What should I do if the GFCI won’t reset after installation?
Short answer: Recheck that LINE/LOAD aren’t reversed, ensure all terminals are tight and the ground is on the green screw, confirm the breaker is supplying power, and if problems persist or the outlet fails testing, contact a professional electrician (e.g., Hylton Electric).
Leave a Reply